Creating a Project
Overview
This guide outlines the process for creating a new project within the portal, enabling users to organize and manage their experiments effectively.
Step 1: Accessing the Create Project Screen
Start by navigating to the main portal dashboard.
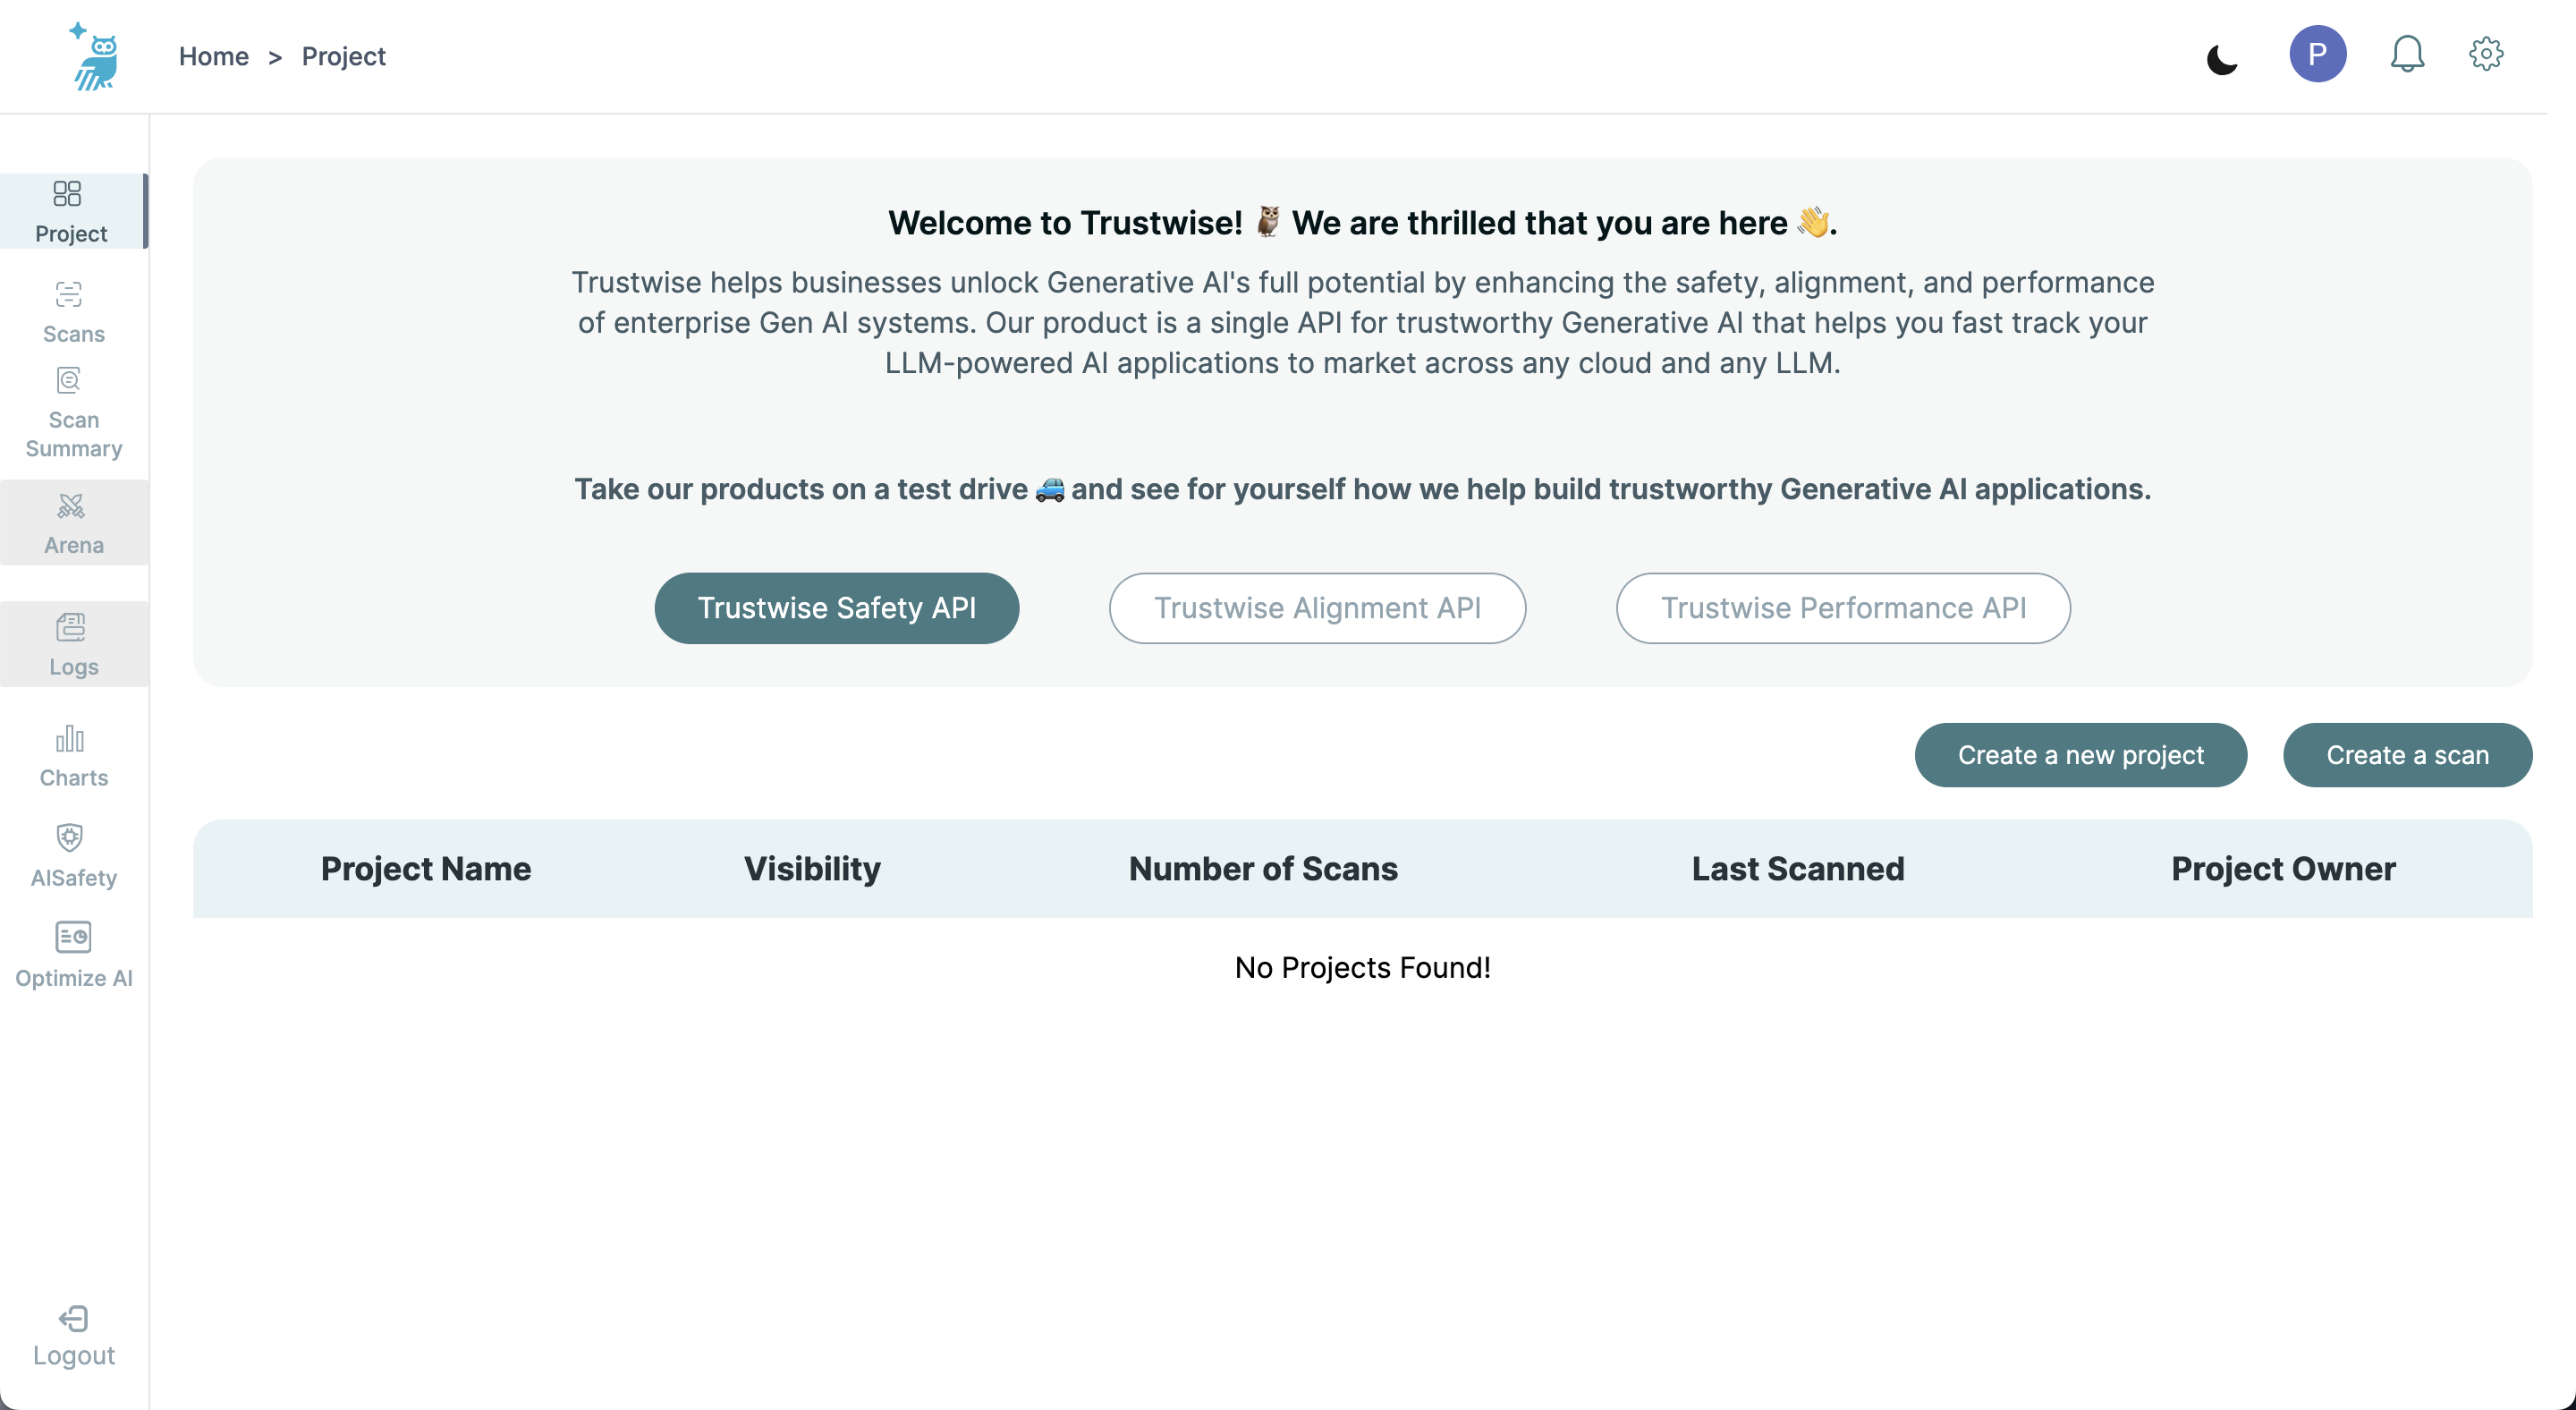
Now select "Create a new Project" button located typically at the top right of the dashboard.
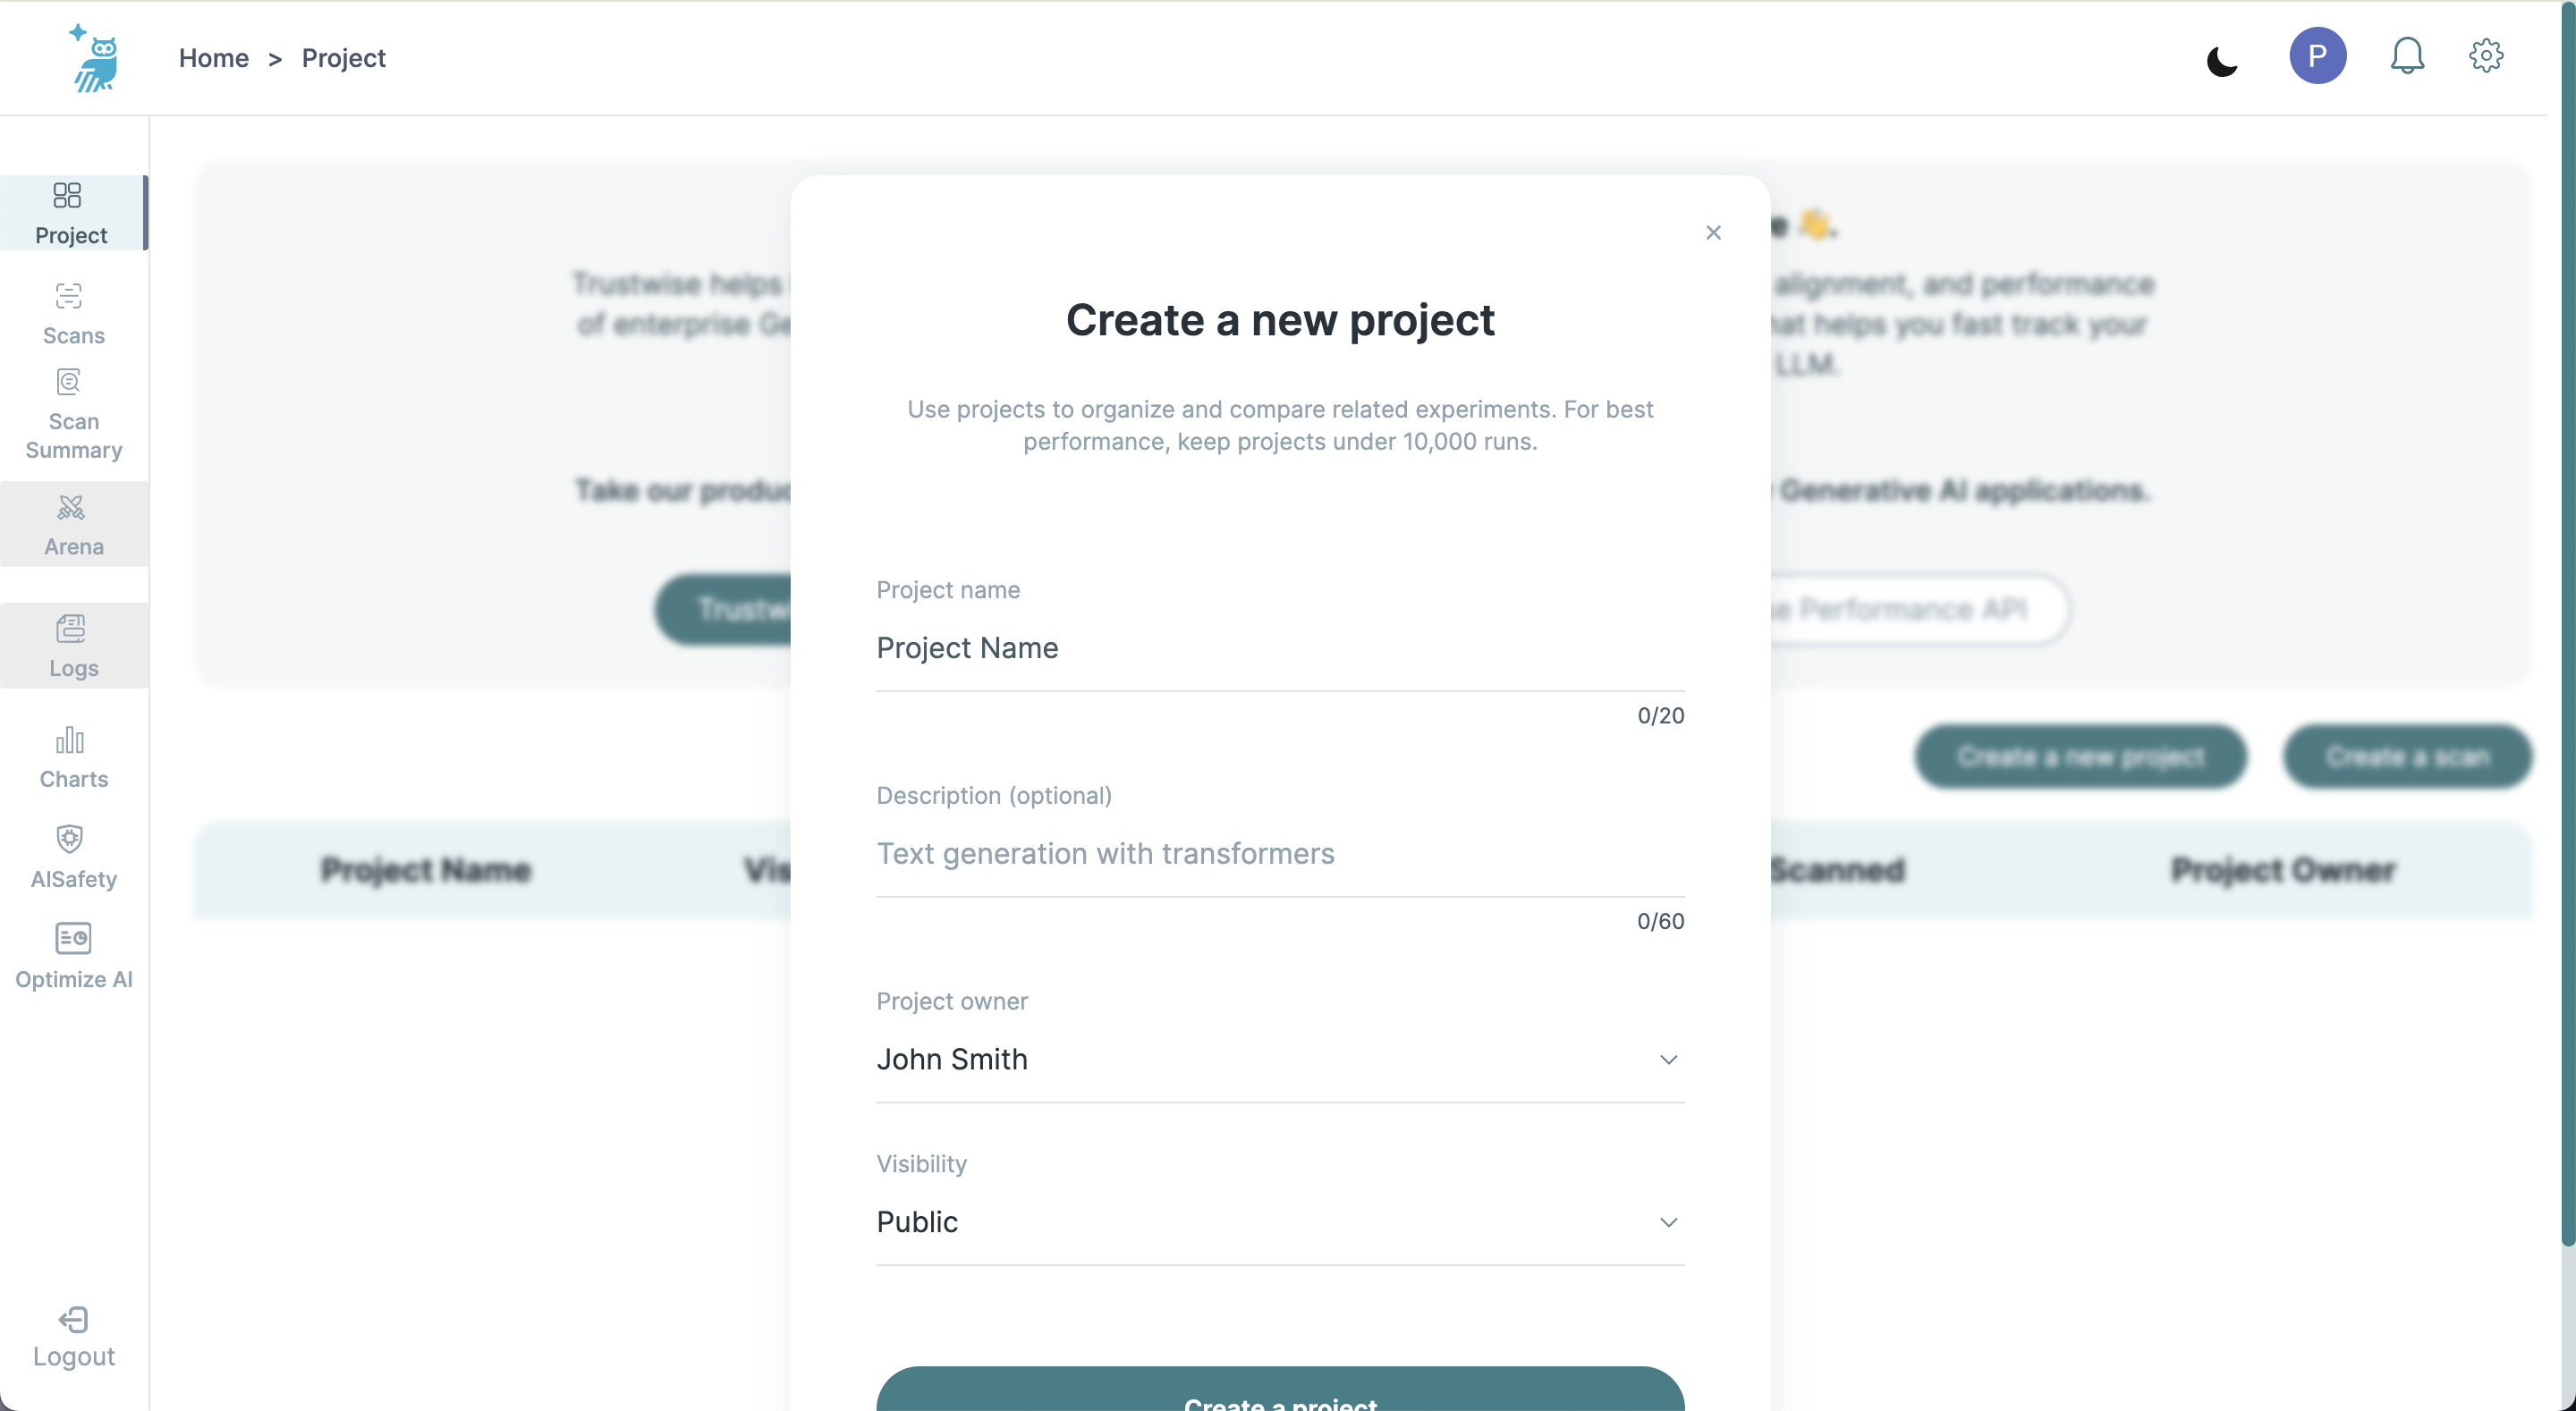
Step 2: Entering Project Details
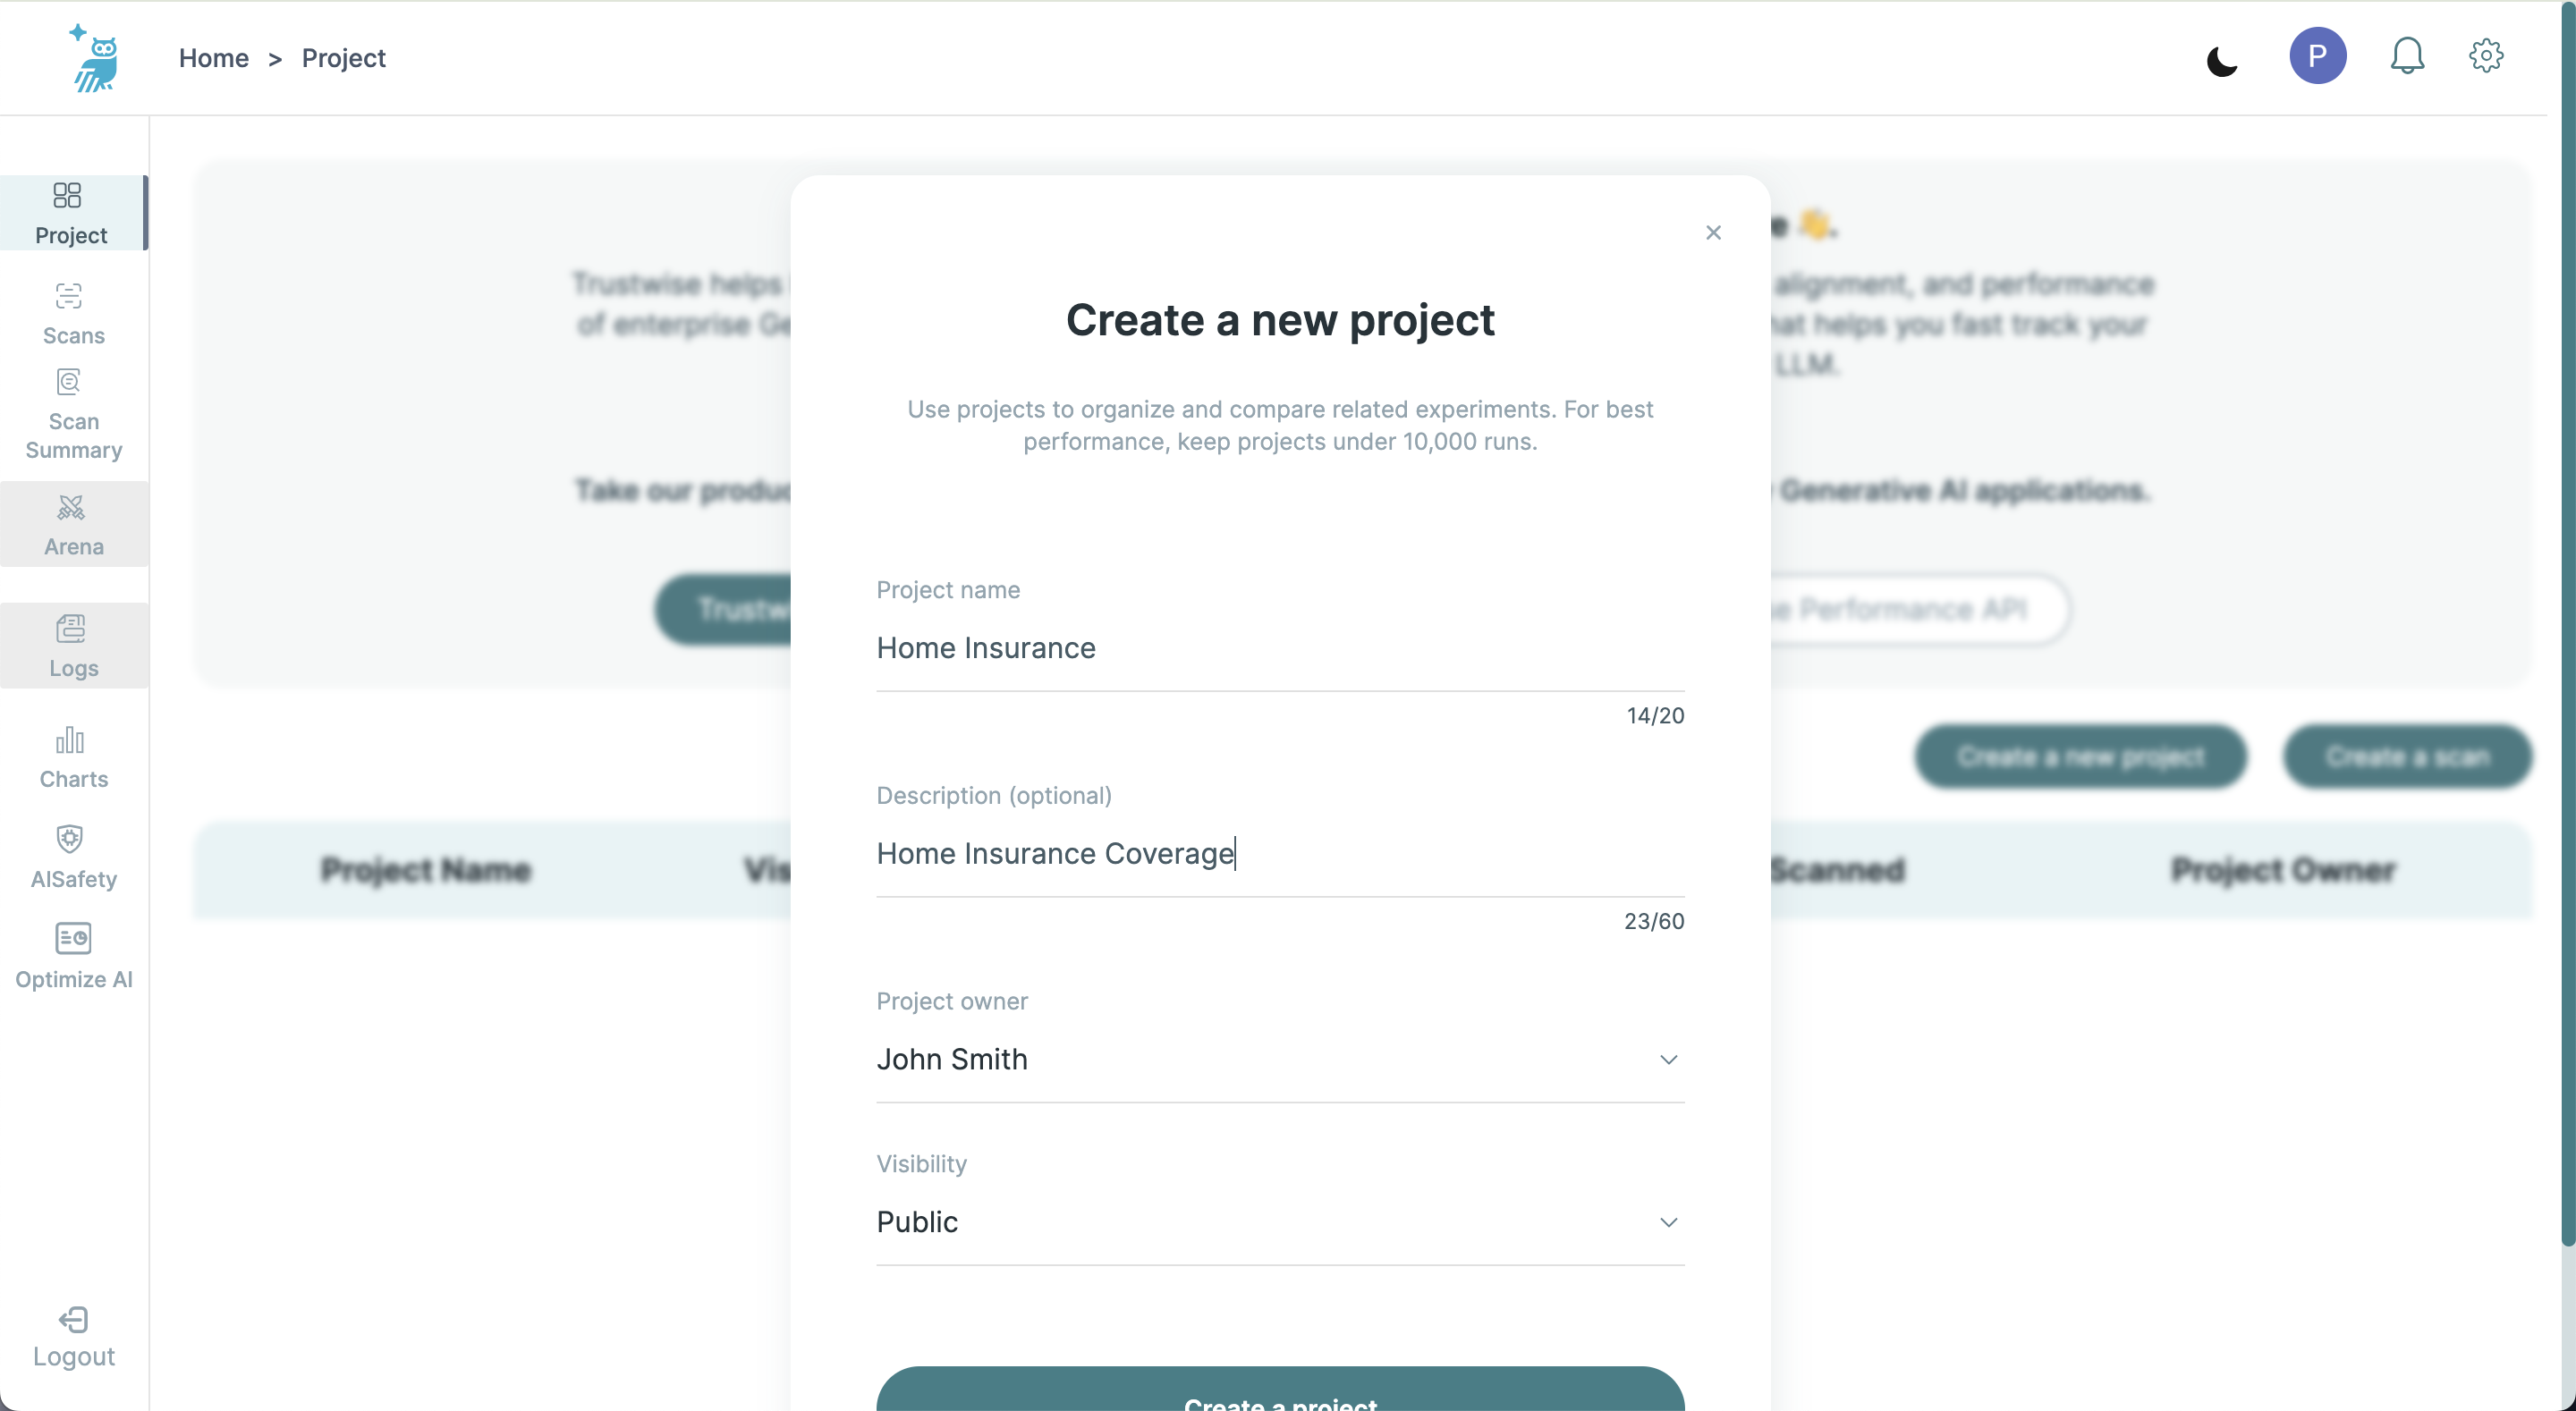
Project Name
Enter the name of your project in the "Project Name" field. This name will be used to identify your project throughout the portal.

Description
You can provide a brief description of your project in the "Description" field. This is recommended to give an overview of the project's goals and scope.
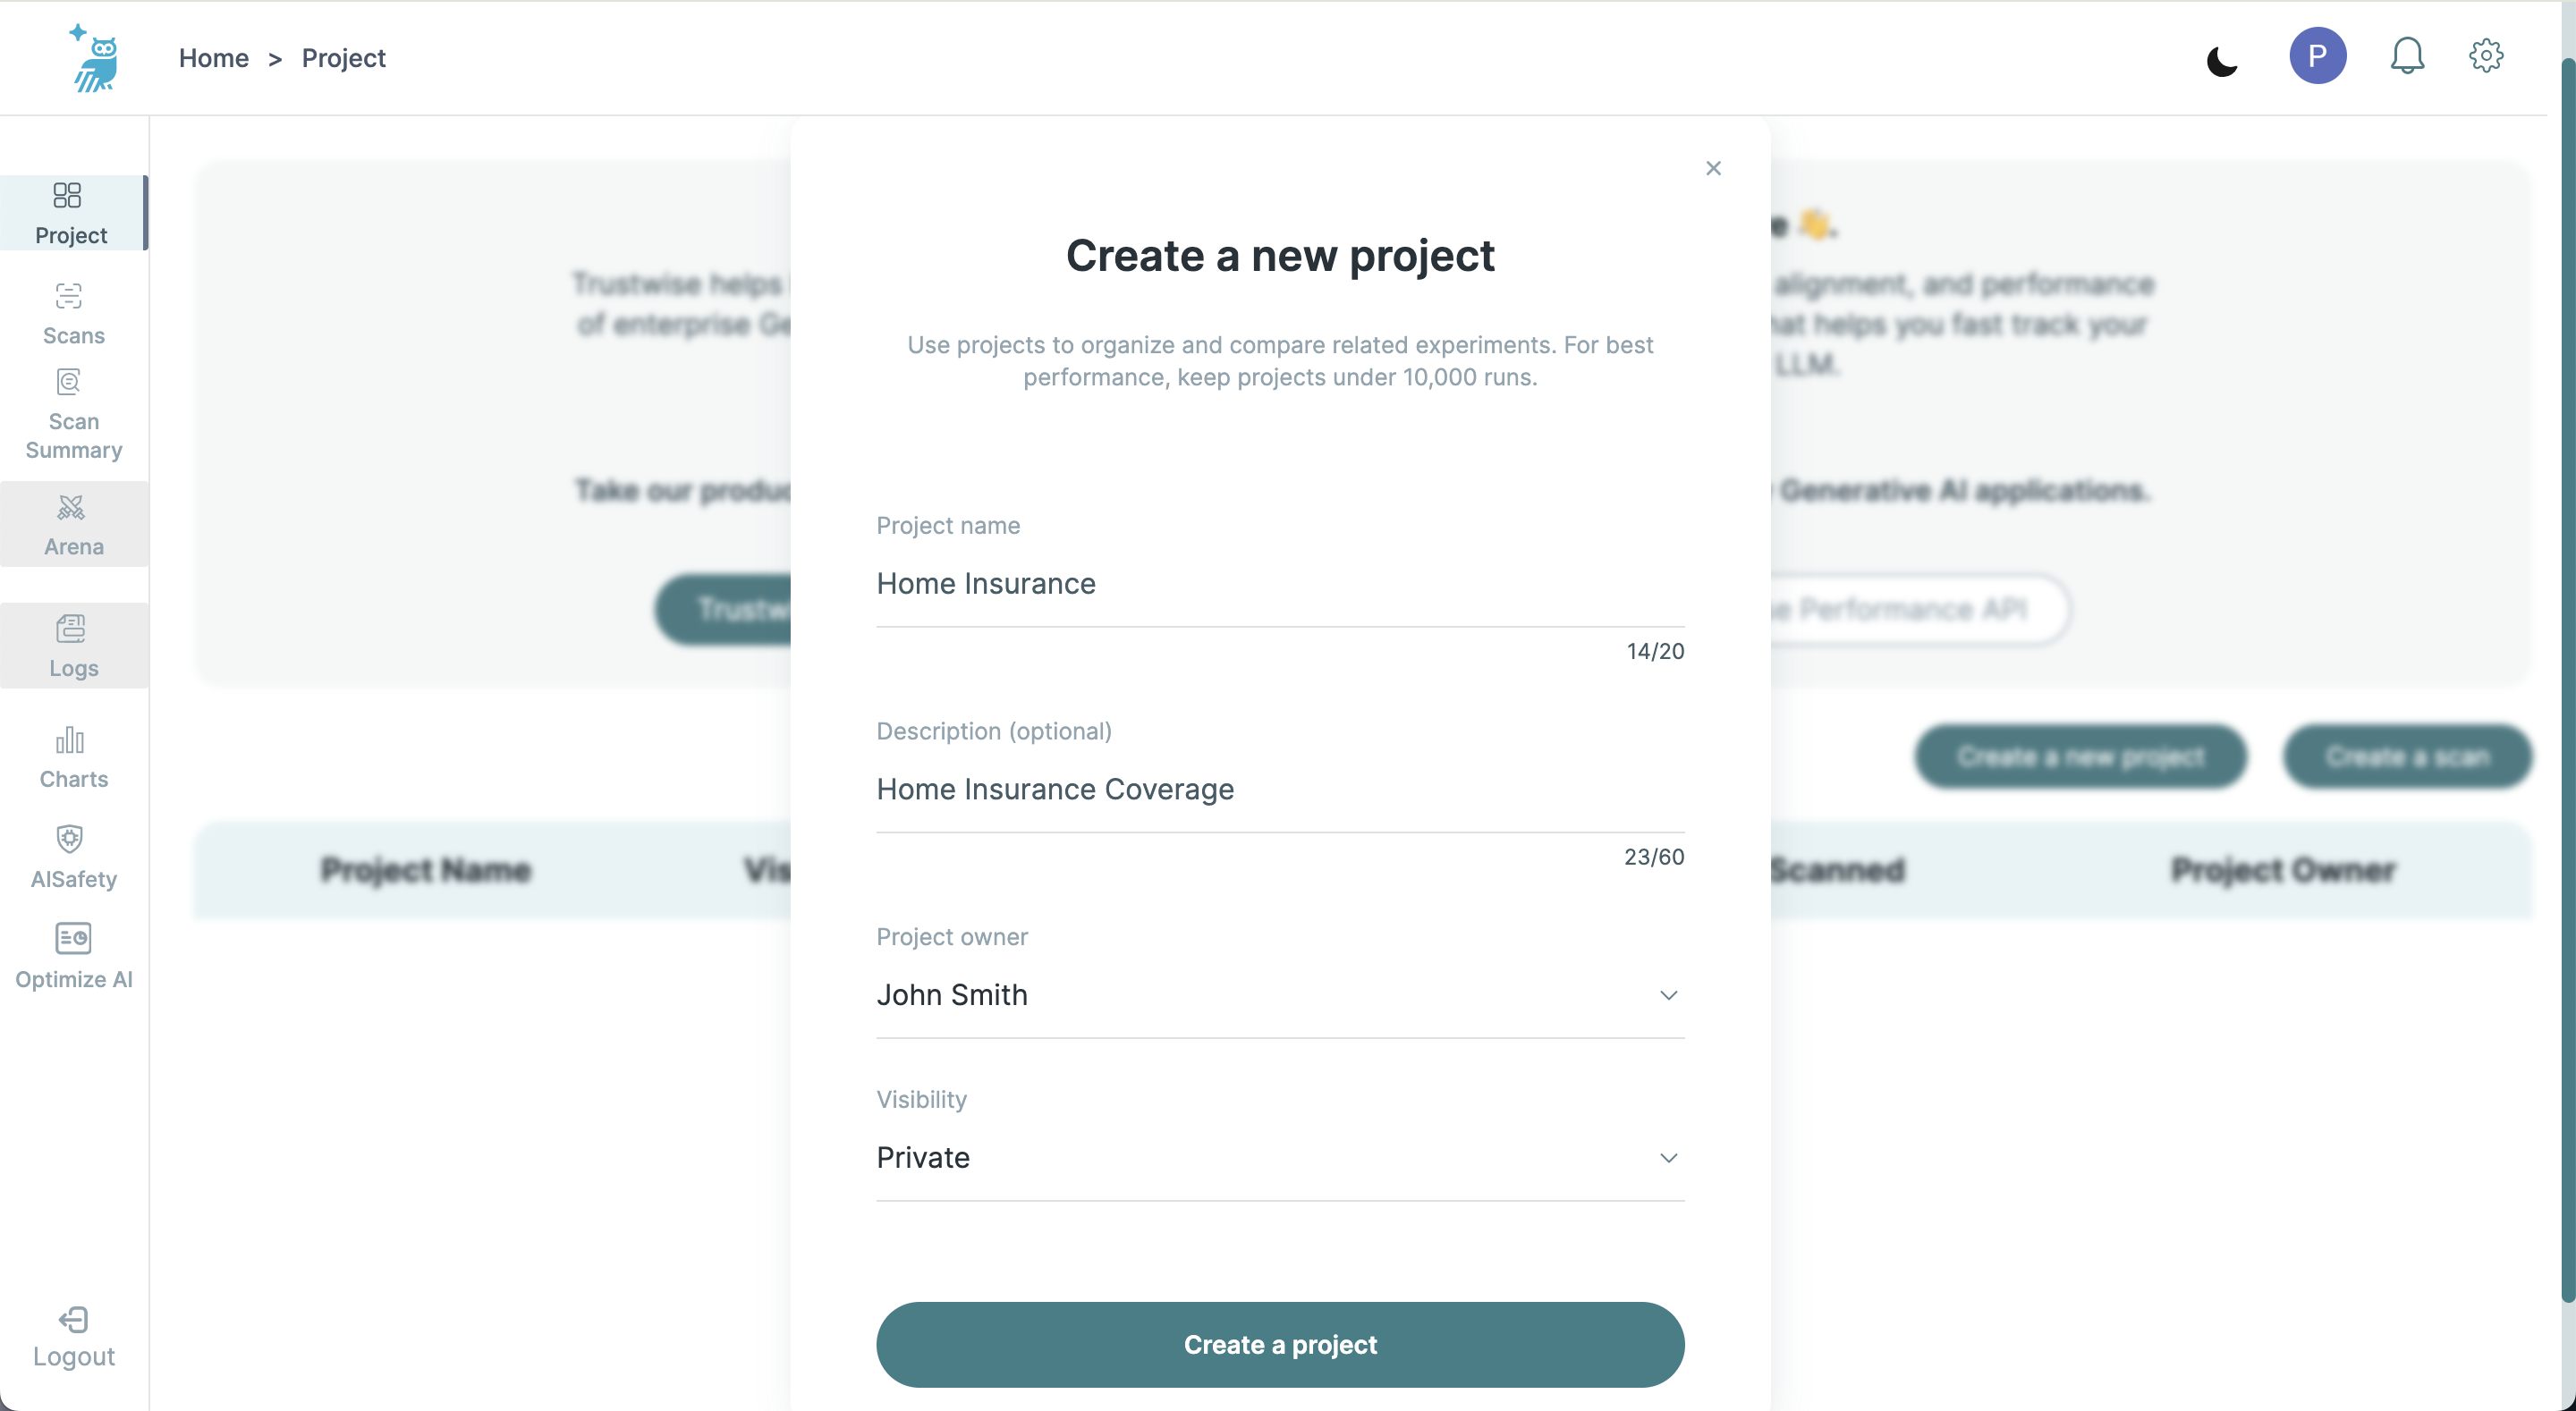
Step 3: Setting Project Visibility
Visibility Options
Select the visibility of your project by choosing from the following options:
- Public: The project will be visible to all users.
- Private: The project will only be visible to you and selected users.
- Organization: The project will be visible to users within your organization.
Viewing and Editing Projects
Overview
This section provides detailed instructions on how to view and edit existing projects within the portal.
Viewing Projects
Accessing the Project List
To view the list of your projects, go to the main portal dashboard. This screen will display all your projects with their respective details such as name, visibility, owner, and last scanned date.
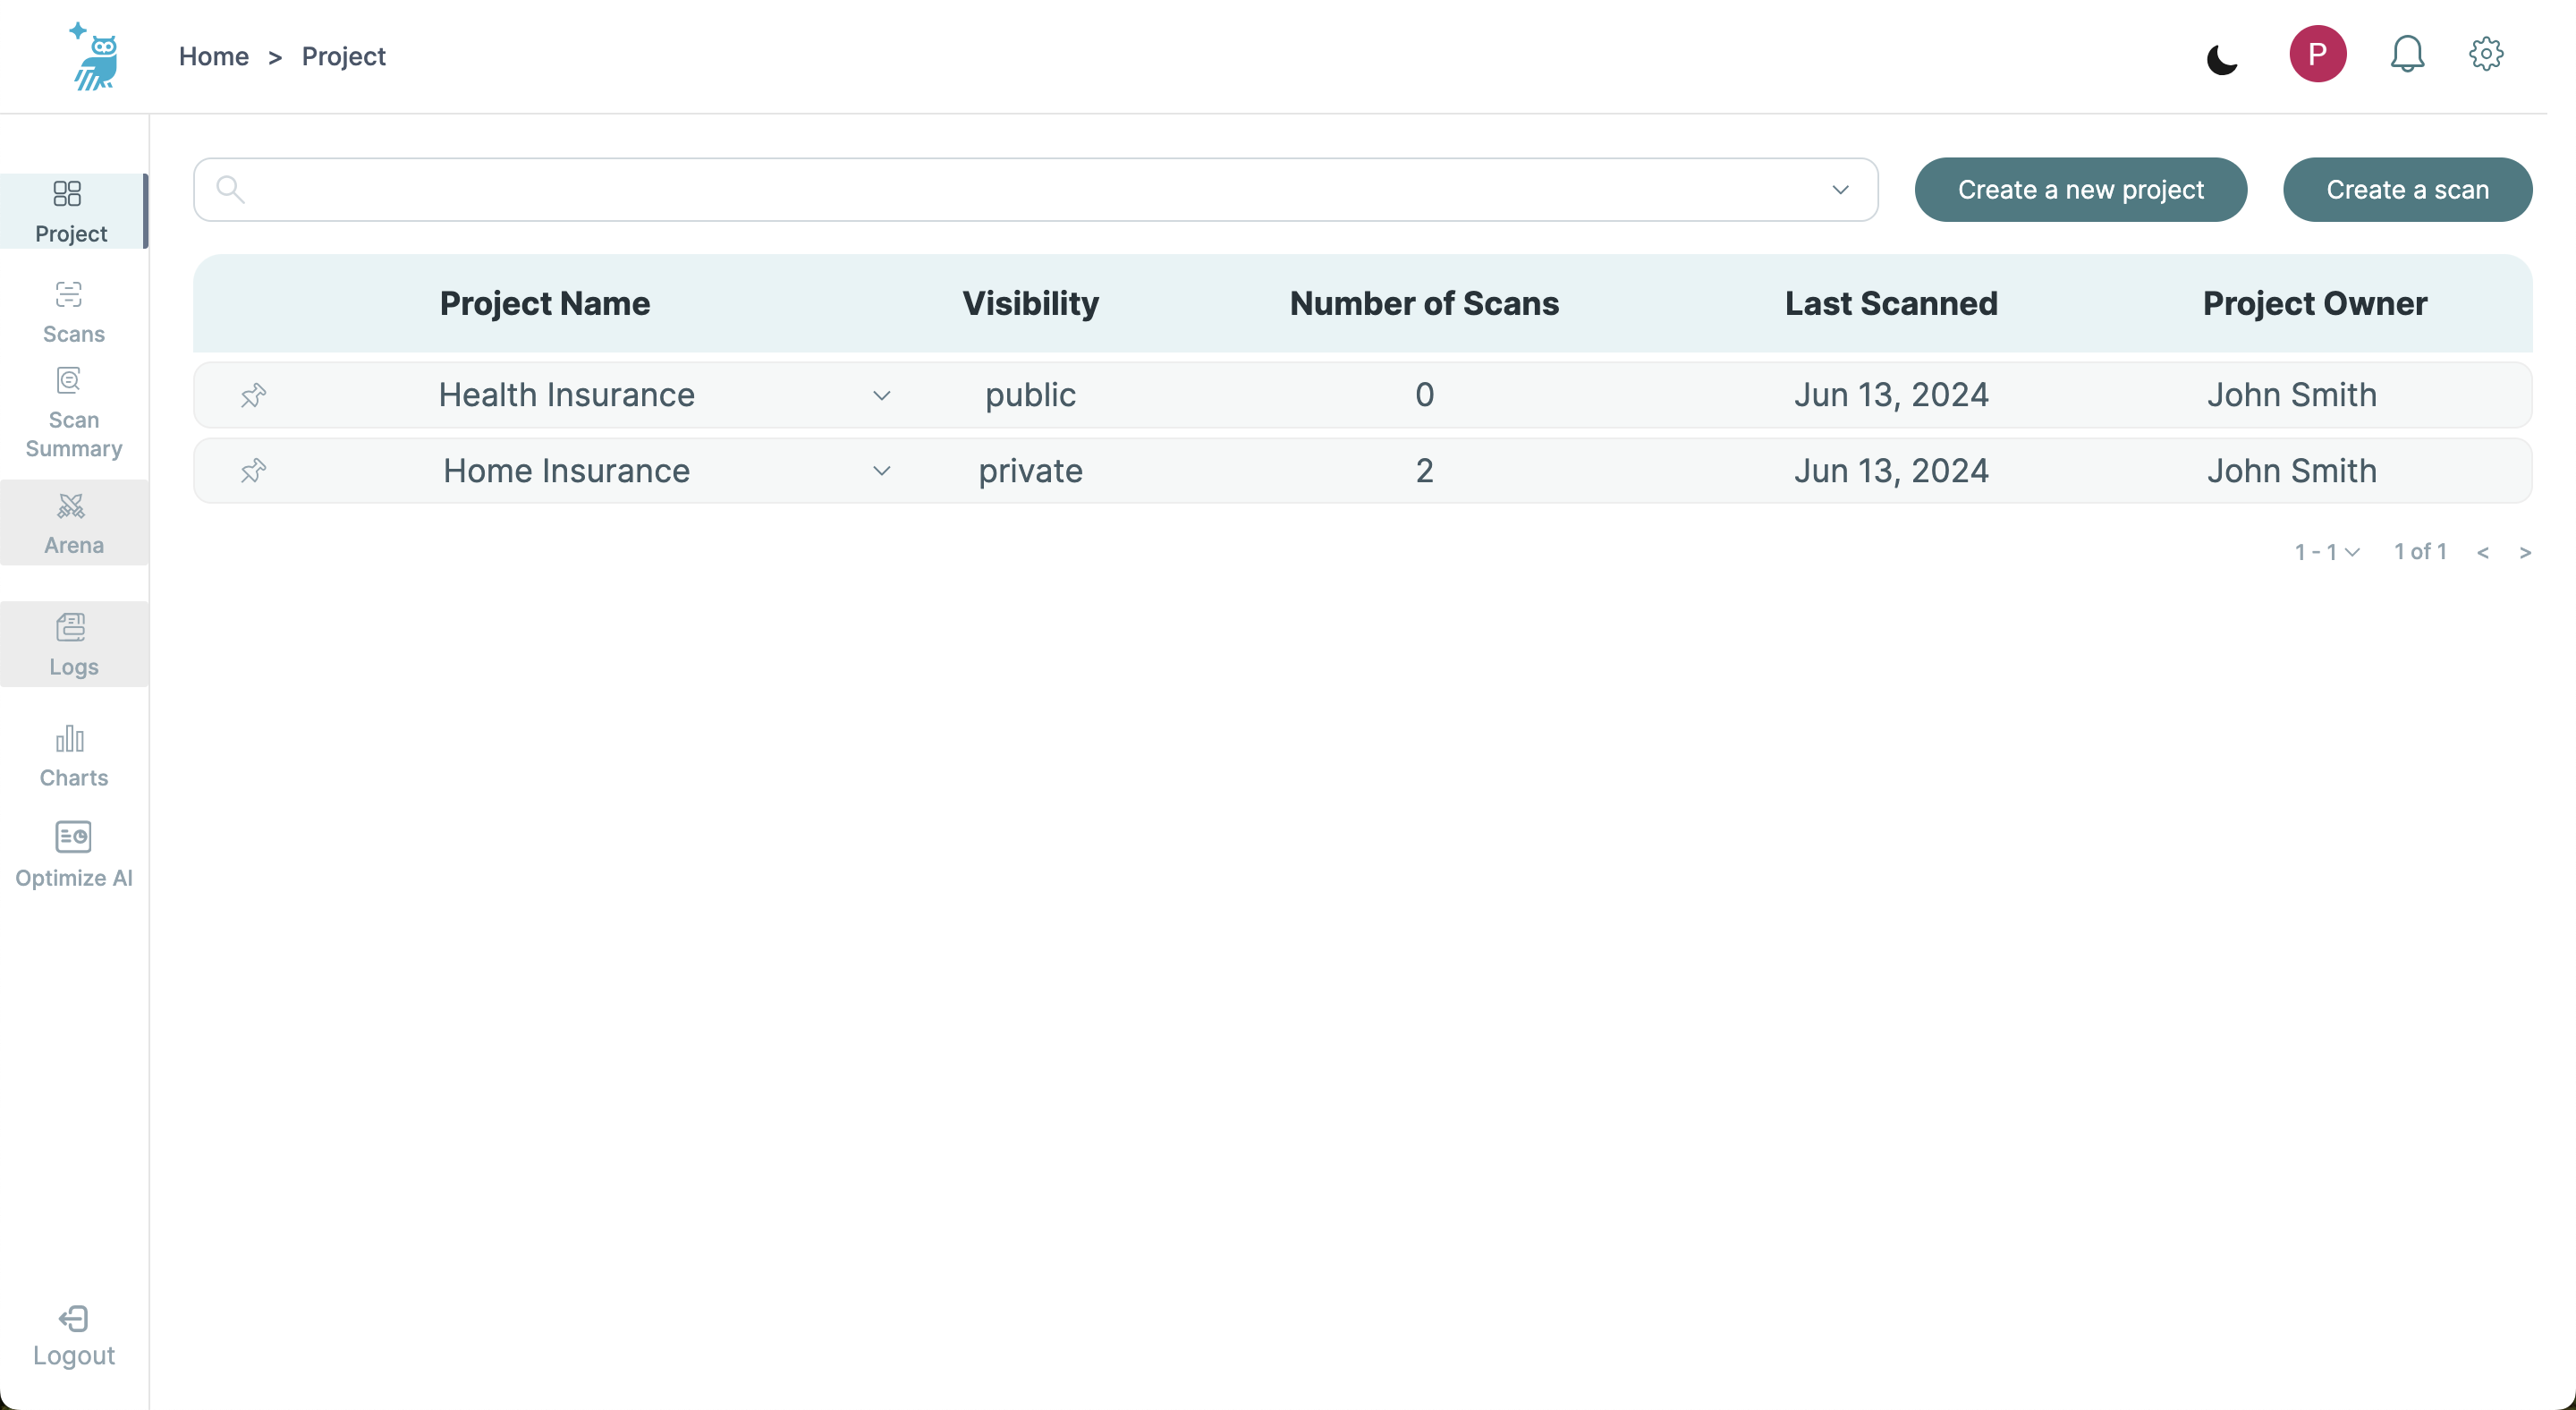
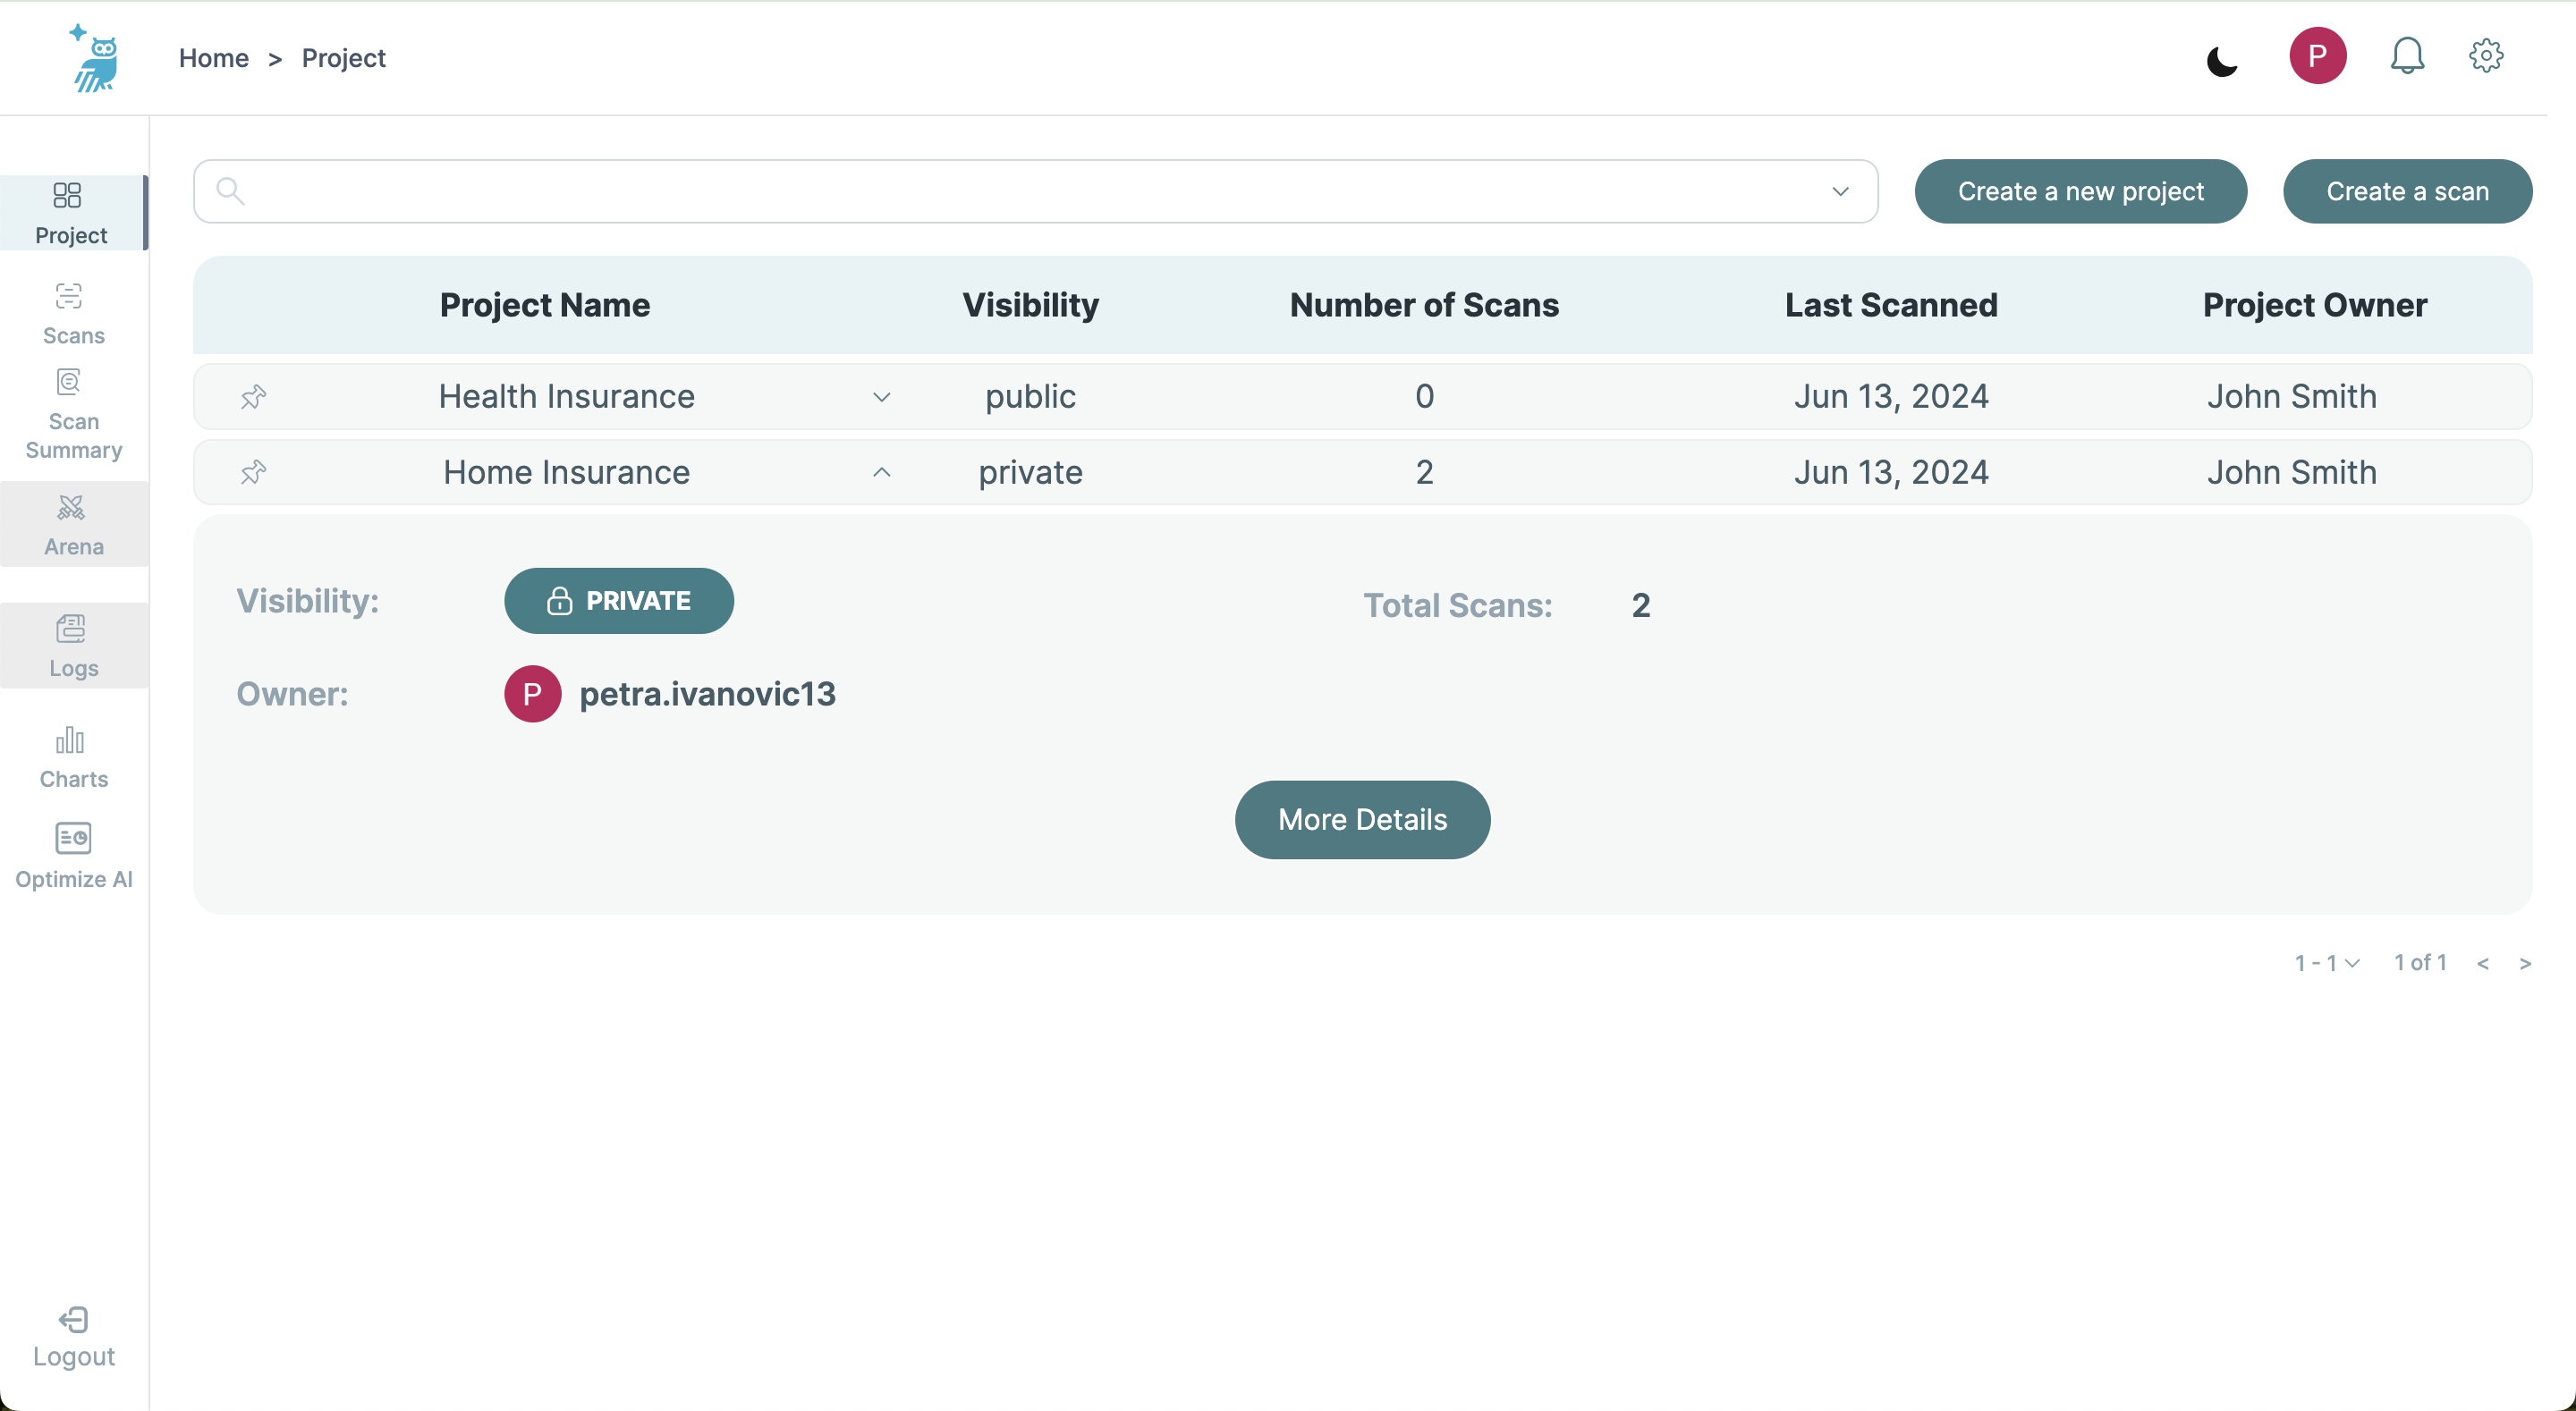
Opening a Project
To open a project, click on the desired project's name. To see more detailed information and manage specific aspects of the project, click on "More Details."
Editing Projects
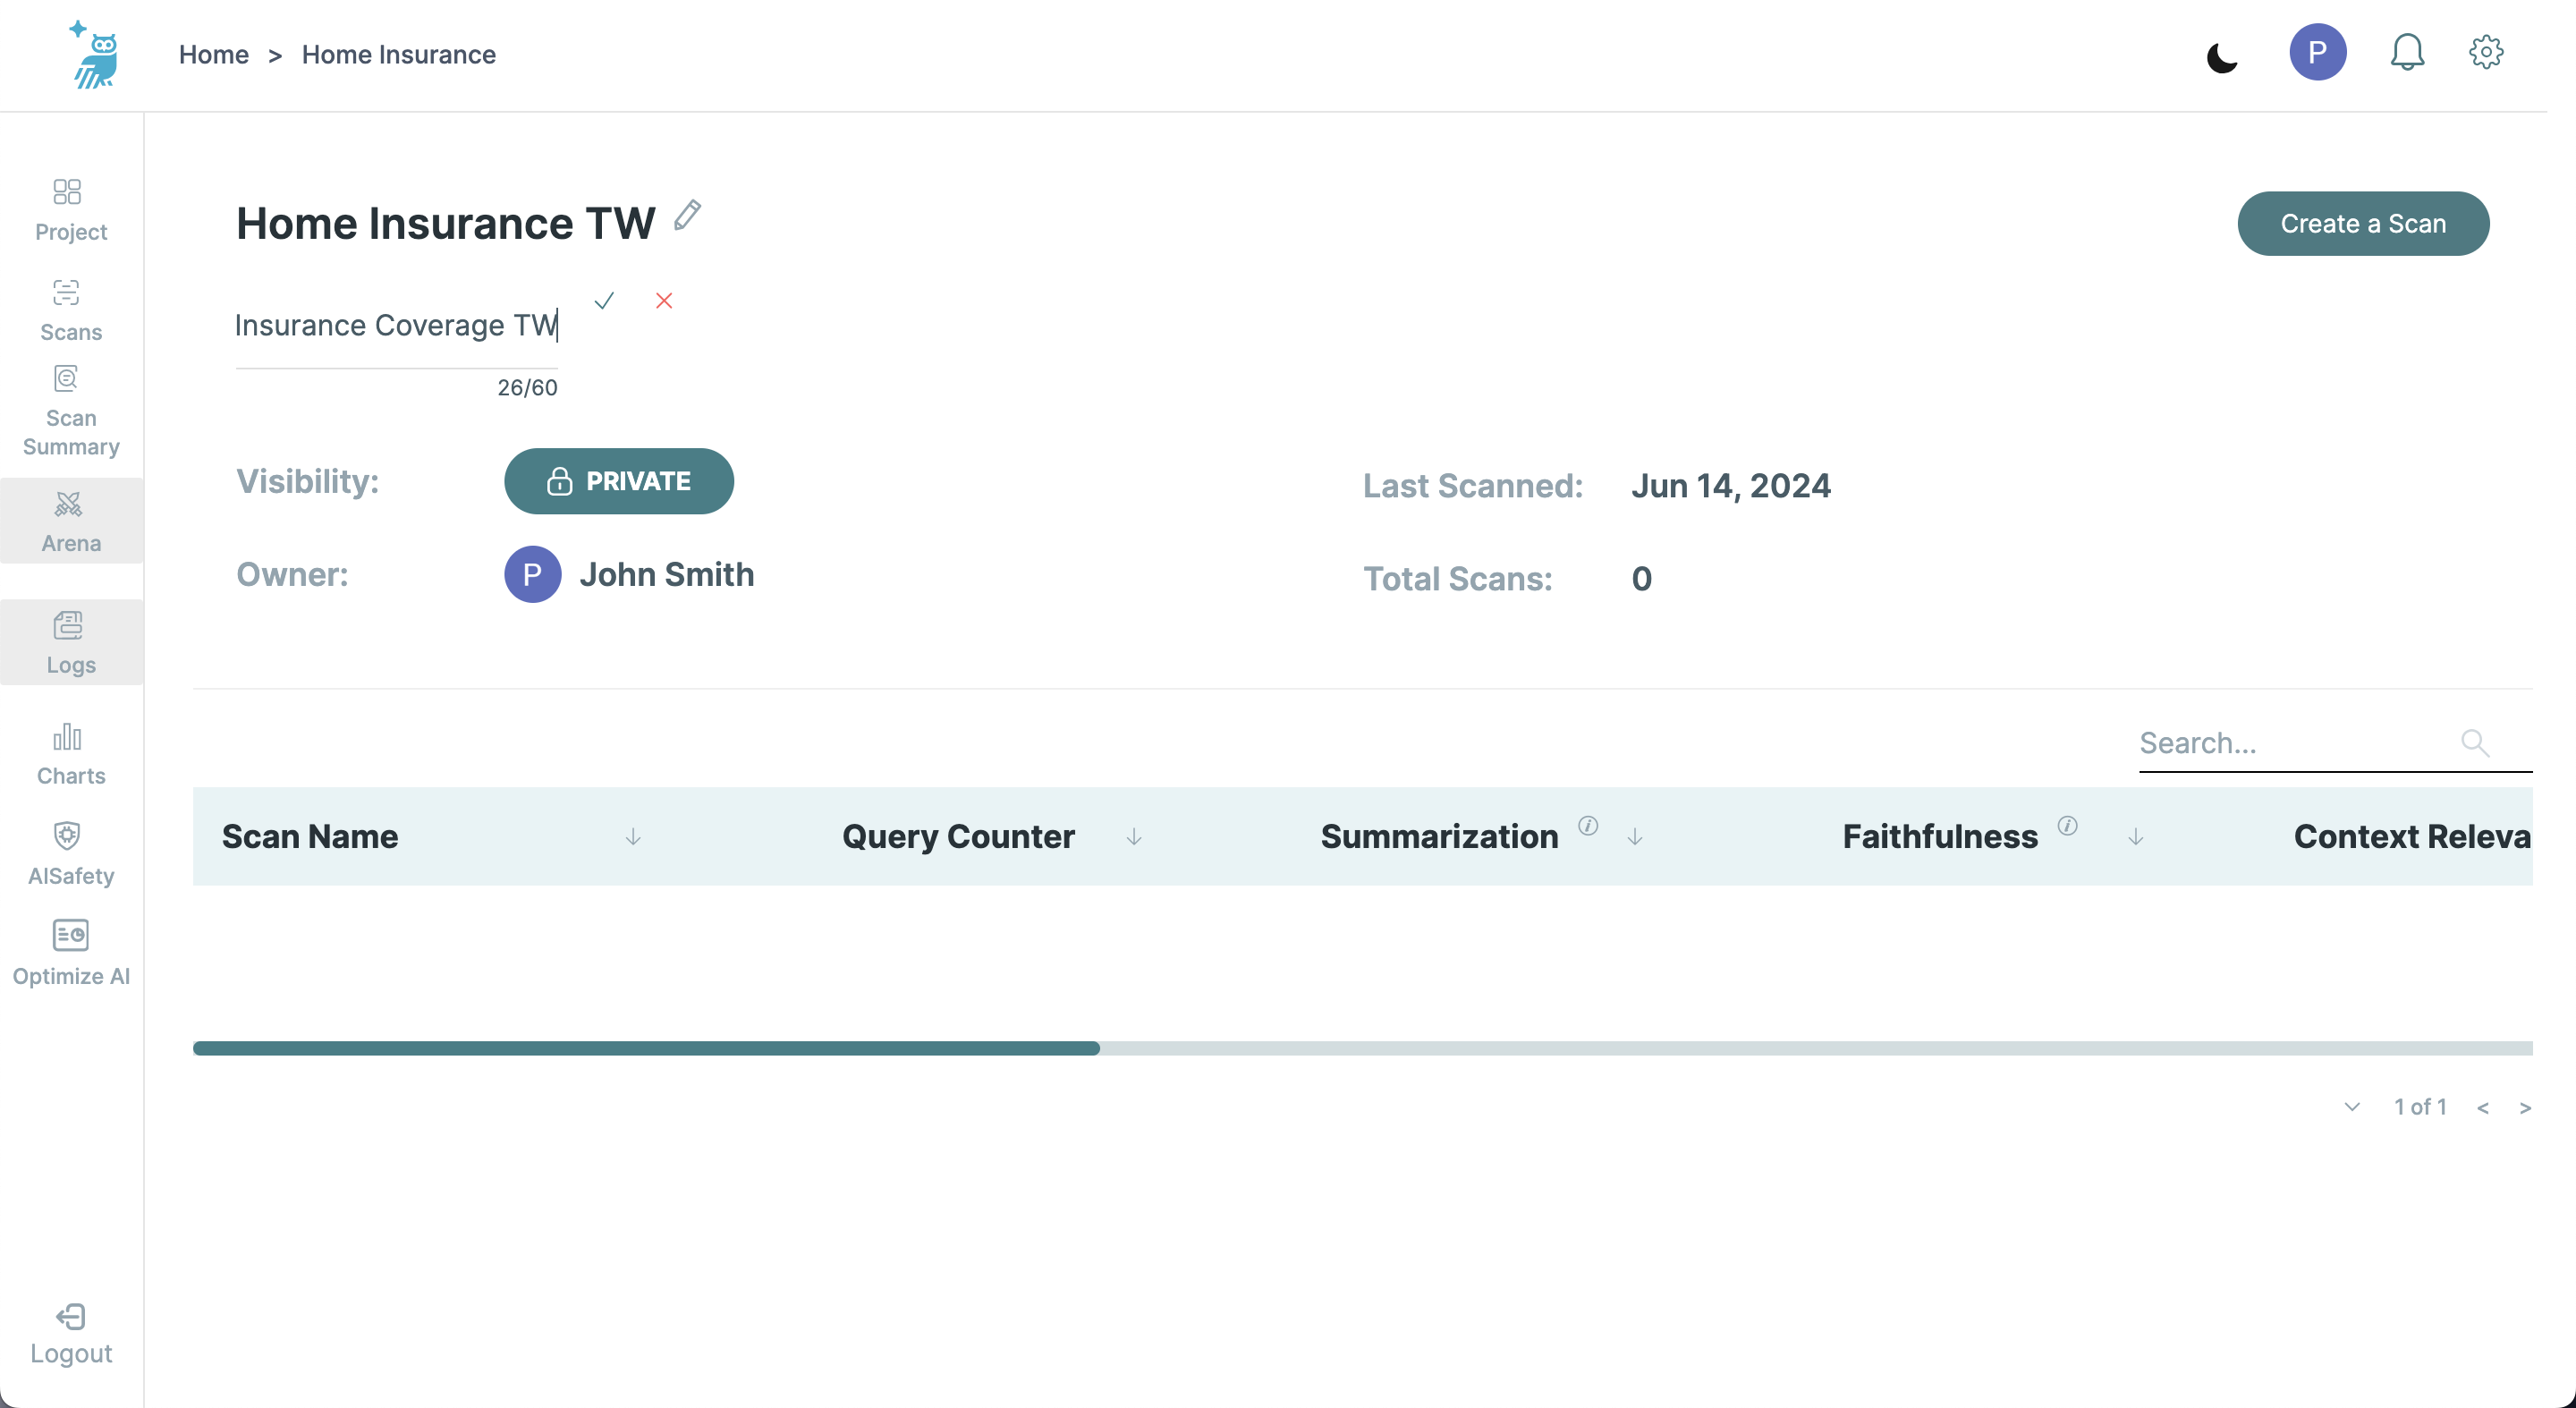
Editing Project Details
Once you are on the project's detailed page, you can edit the project's name and description. Click on the small pen icon next to the project name or description to make changes.

Editing Project Name
- Click the pen icon next to the project name.
- Enter the new name for your project.

- Confirm the change to update the project's name.

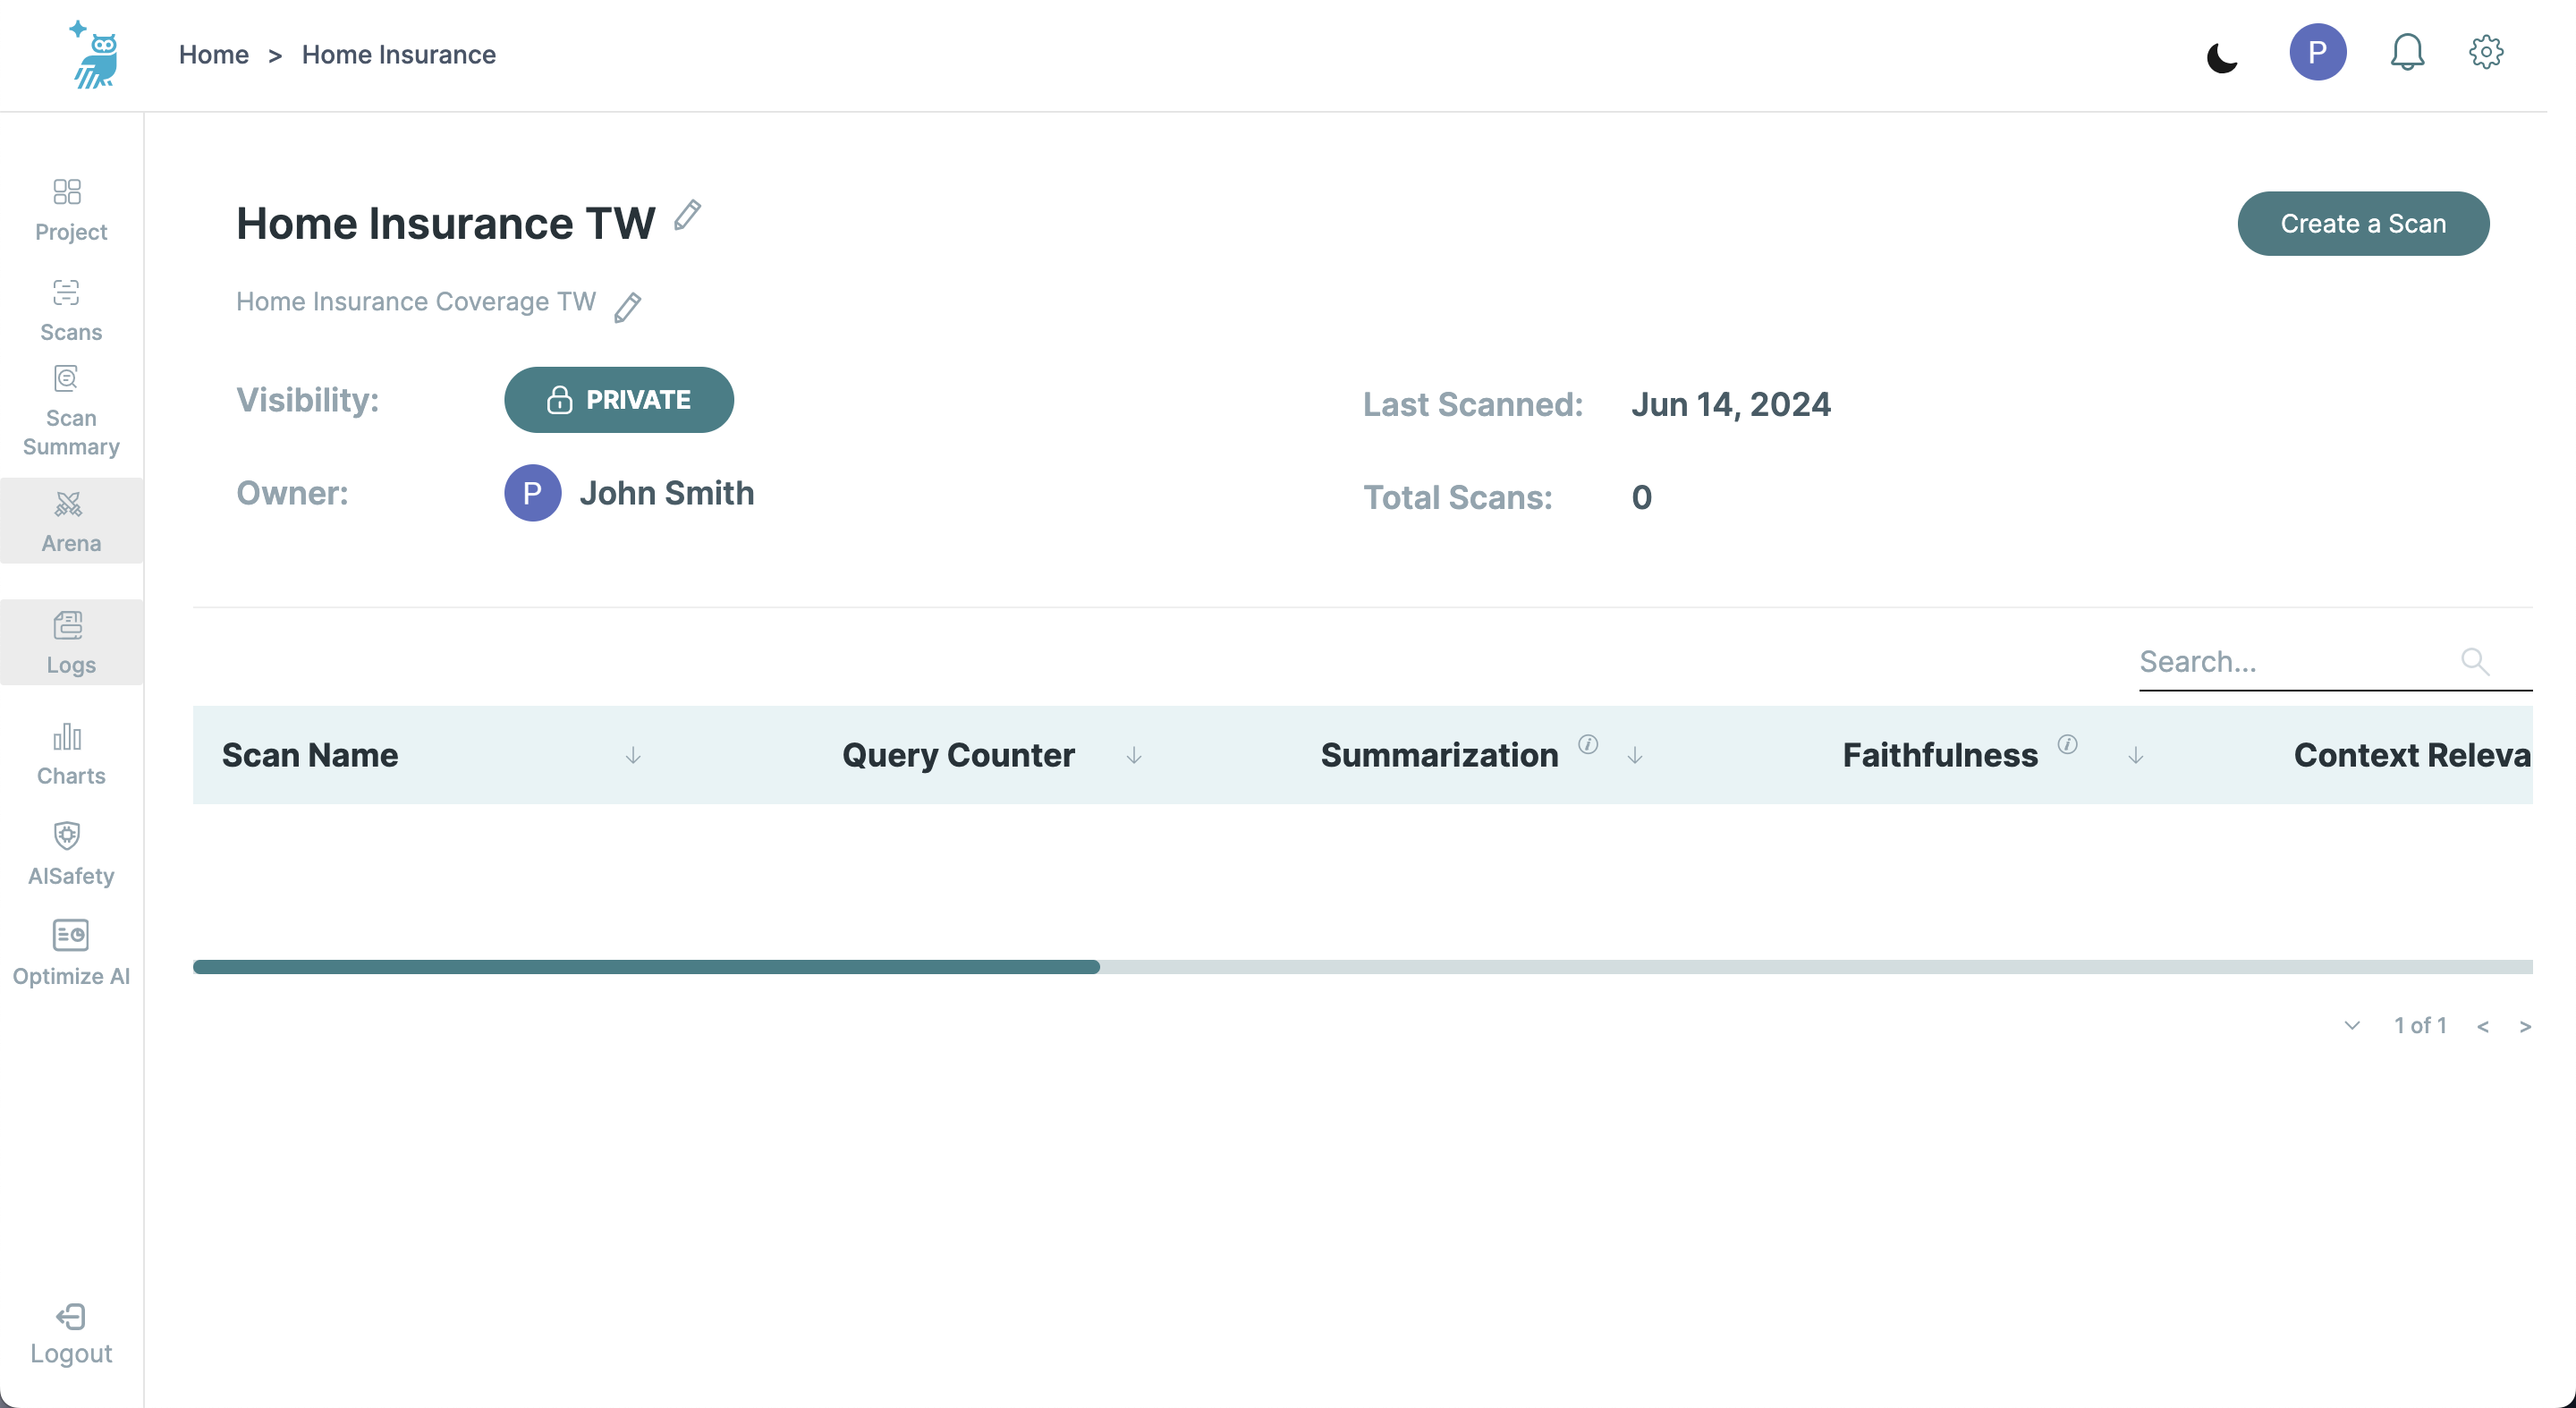
Editing Project Description
- Click the pen icon next to the project description.
- Type the new description for your project.
- Save the changes to update the description.
Note on Visibility
Currently, the visibility of the project cannot be altered from this screen. Visibility settings are configured during the creation of the project and remain fixed unless changed by an administrator.
Creating Scans
From the project's page, you can also initiate new scans. Click the "Create a Scan" button to start a new scan that will be saved directly within this project. This allows for efficient management and tracking of all scans associated with the project.
Additional Information
For assistance or more detailed instructions on managing your projects, please refer to our user guide or contact our support team at support@trustwise.ai.